
Ever tried to photograph sand dunes only to end up with blurry, uninspired shots that scream “amateur hour”? Yeah, us too. Trust me when I say sand motion photography isn’t just about pointing your camera at a sunset and hoping for magic. It’s an art form where every grain tells a story—and if done right, it can transport viewers straight into the heart of a desert safari adventure.
In this ultimate guide, you’ll learn how to master sand motion photography, from understanding why lighting matters to nailing those dynamic compositions. We’ll also share real-life examples, step-by-step instructions, and—brace yourself—a brutally honest rant about overused filters.
Table of Contents
- Key Takeaways
- Why Sand Motion Photography Matters
- Step-by-Step Guide to Mastering Sand Motion Photography
- Pro Tips for Stunning Results
- Examples & Case Studies
- FAQs on Sand Motion Photography
- Conclusion & Recap
Key Takeaways
- Lighting is everything in sand motion photography; golden hour is your best friend.
- The right equipment (tripod, ND filters) makes all the difference.
- Dynamic compositions require creativity and balance between moving elements like wind-blown sand and static subjects.
- Avoid cookie-cutter edits; authenticity wins more engagement.
Why Sand Motion Photography Matters
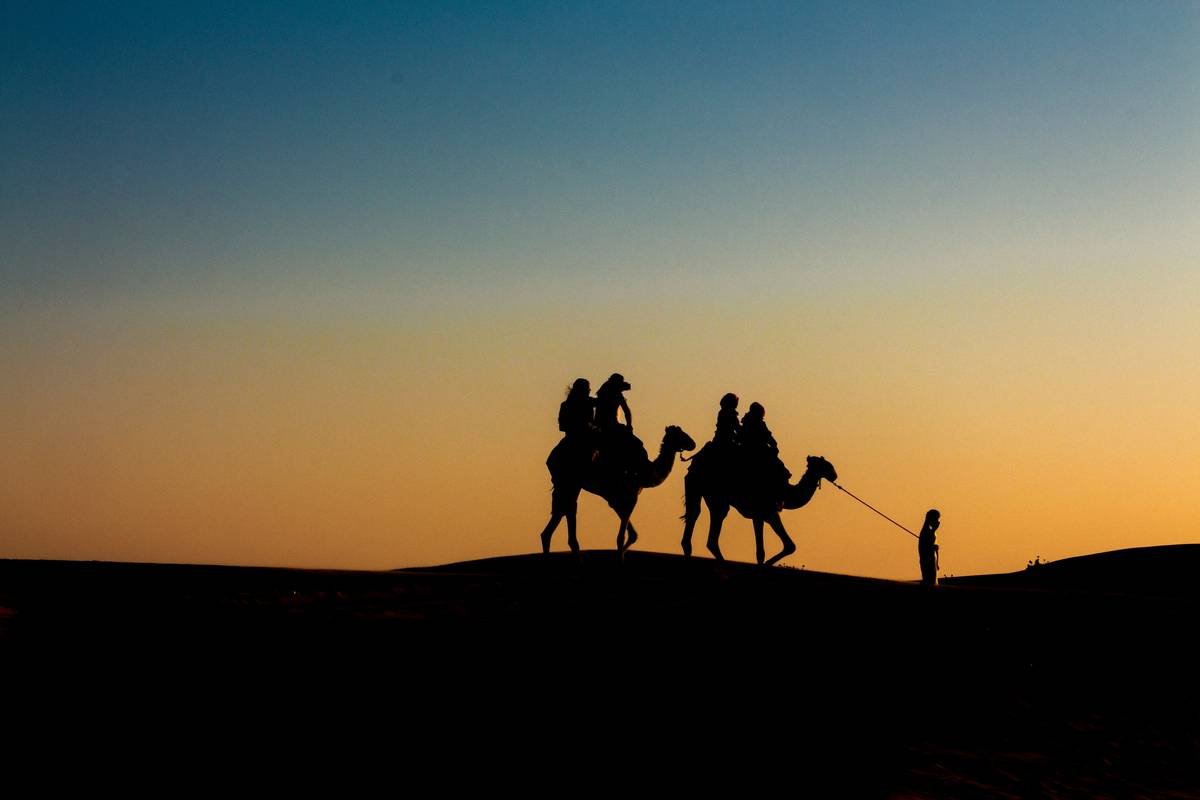
Picture this: You’re on a thrilling desert safari, cruising through endless seas of dunes, adrenaline pumping as camels pass by gracefully. The sun begins its descent, casting long shadows across the rippling sands. Now imagine freezing—or enhancing—that magical moment through sand motion photography. It’s not just about capturing movement; it’s about immortalizing the soul of the desert itself.
Desert tourism has skyrocketed in recent years. According to travel industry stats, activities like desert safaris attract millions annually because they offer something urban vacations lack: raw, untamed beauty. But here’s the kicker—if tourists scroll past your photos without stopping, you’ve lost them faster than Wi-Fi drops in remote areas.
Confession time: During my first attempt at sand motion photography, I made the rookie mistake of shooting midday under harsh sunlight. My photos looked flatter than pancakes left out overnight. Lesson learned? Timing isn’t optional—it’s mandatory.
“Optimist You: ‘Golden hour will save your photos!'”
“Grumpy You: ‘Ugh, fine—but only if coffee’s involved.'”
Step-by-Step Guide to Mastering Sand Motion Photography
Step 1: Choose Your Time Wisely
“When should I shoot?” is the million-dollar question. Pro tip: Aim for either sunrise or sunset—the infamous golden hours. The low-angle light creates dramatic contrasts and adds depth to the swirling sands.
Step 2: Gear Up Like a Pro
You don’t need NASA-level tech, but some essentials are non-negotiable:
- Tripod: Keeps your camera steady, especially for long exposures.
- ND Filters: Control exposure while maintaining natural colors.
- Polarizer Filter: Reduces glare off reflective surfaces (like oh-so-shiny sand).
Step 3: Frame Your Shot Dynamically
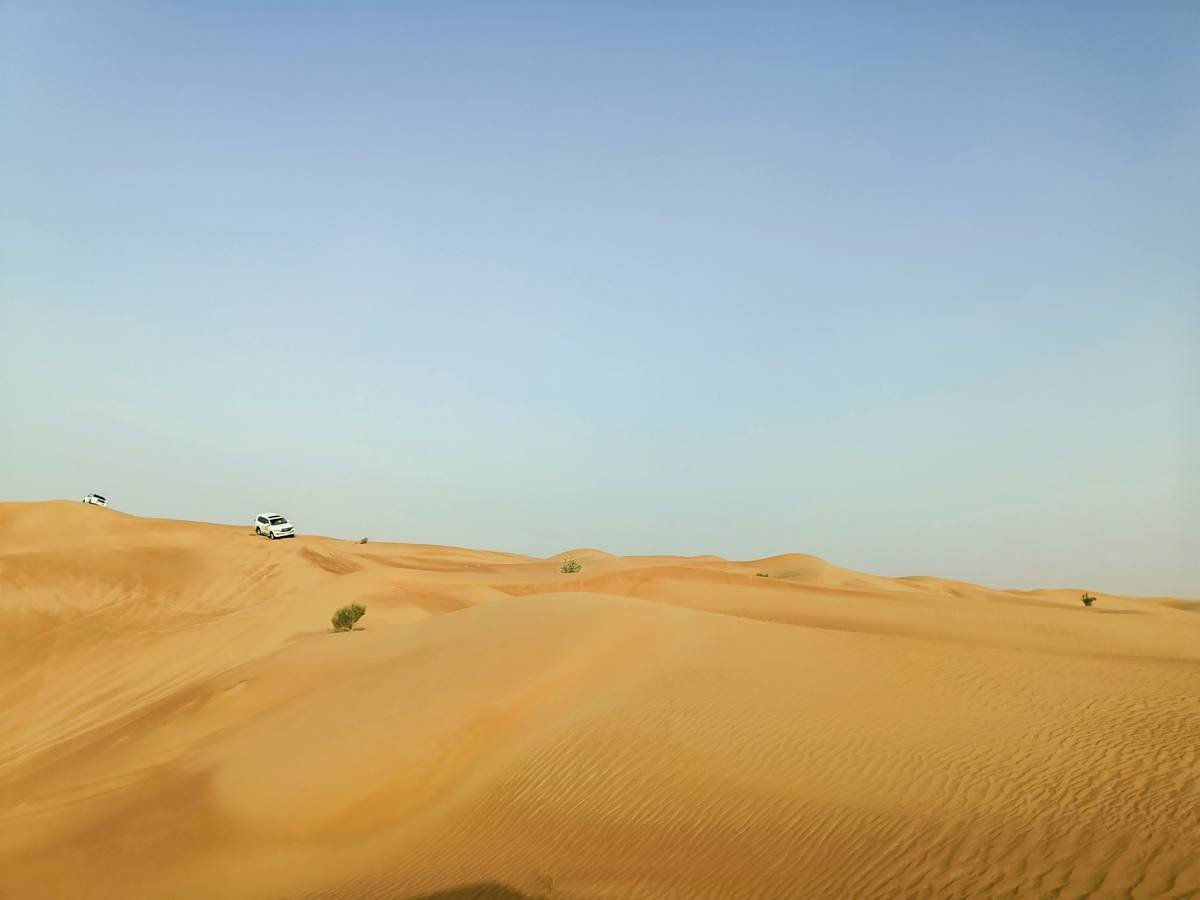
This is where storytelling meets technical skill. Play around with angles. Want to highlight the flow of wind kicking up sand? Get low and close. Need context? Include a lone jeep or camel caravan framed against vastness.
Step 4: Experiment with Shutter Speed
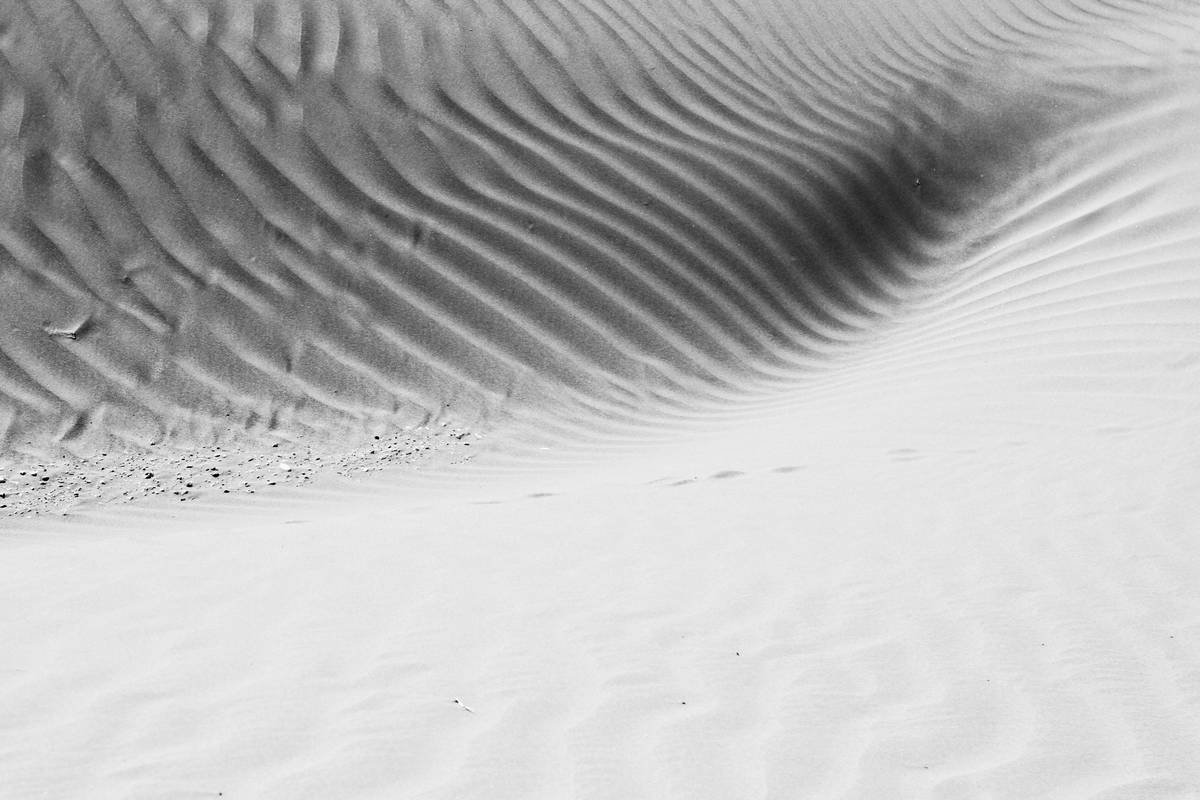
The secret sauce of sand motion photography: shutter speed. Slower speeds blur motion, making windswept sand appear fluid. Fast speeds freeze action. Try both to see what fits your narrative!
Pro Tips for Stunning Results
- Layer Elements: Combine foreground, middle ground, and background to create depth.
- Use Wind Strategically: Position yourself so the wind enhances—not ruins—your composition.
- Edit Thoughtfully: Don’t slap 15 different presets onto one image. Less really is more.
Examples & Case Studies
A great example comes from photographer Alex Reed, whose viral shot of a desert storm went viral on Instagram. By juxtaposing a still camel silhouette against a raging swirl of sand clouds, he turned chaos into poetry—all thanks to careful planning and perfect execution.
FAQs on Sand Motion Photography
Q1: What Camera Settings Should I Start With?
Beginners, start with manual mode (M), set ISO between 100-400, aperture around f/8-f/11, and adjust shutter speed based on effect desired (typically 1/8th sec or slower).
Q2: Is Post-Processing Necessary?
Yes—for sharpness, contrast tweaks, and color grading. Just avoid going full-on neon Miami vibe unless that’s your jam.
Q3: Can Mobile Phones Work Too?
Absolutely! Modern smartphones boast impressive capabilities. Use apps like Lightroom Mobile or Snapseed for advanced editing options.
Conclusion & Recap
Sure, mastering sand motion photography might feel overwhelming at first—like your brain’s processing power peaked at DSLR settings overload. But remember, patience pays off. Practice during every opportunity, analyze mistakes, adapt, and repeat. Soon enough, you’ll be creating imagery that captures the essence of desert safaris like never before.
Last piece of advice? Stop chasing trends blindly. Instead, embrace authenticity. Oh, and stop using VSCO C1—it’s officially played out.
(Like a Tamagotchi, your SEO needs daily care.)

